- Discover a great recipe on preserving cherry tomatoes
- Step 1: Harvesting the Perfect Cherry Tomatoes
- Step 2: Preparing the Tomatoes
- Step 3: Slicing and Bottling the Tomatoes
- Step 4: Seasoning the Tomatoes
- Step 5: Sealing the Bottles
- Step 6: Boiling the Bottles for Preservation
- Conclusion: A Treasure for Your Pantry
Discover a great recipe on preserving cherry tomatoes
Welcome to Tomato Fable, where we guide you through the art of preserving fresh vegetables with traditional methods that are as practical as they are magical. Our mission is to inspire a love for fresh, sustainable food and show you how to transform nature’s bounty into long-lasting culinary treasures.
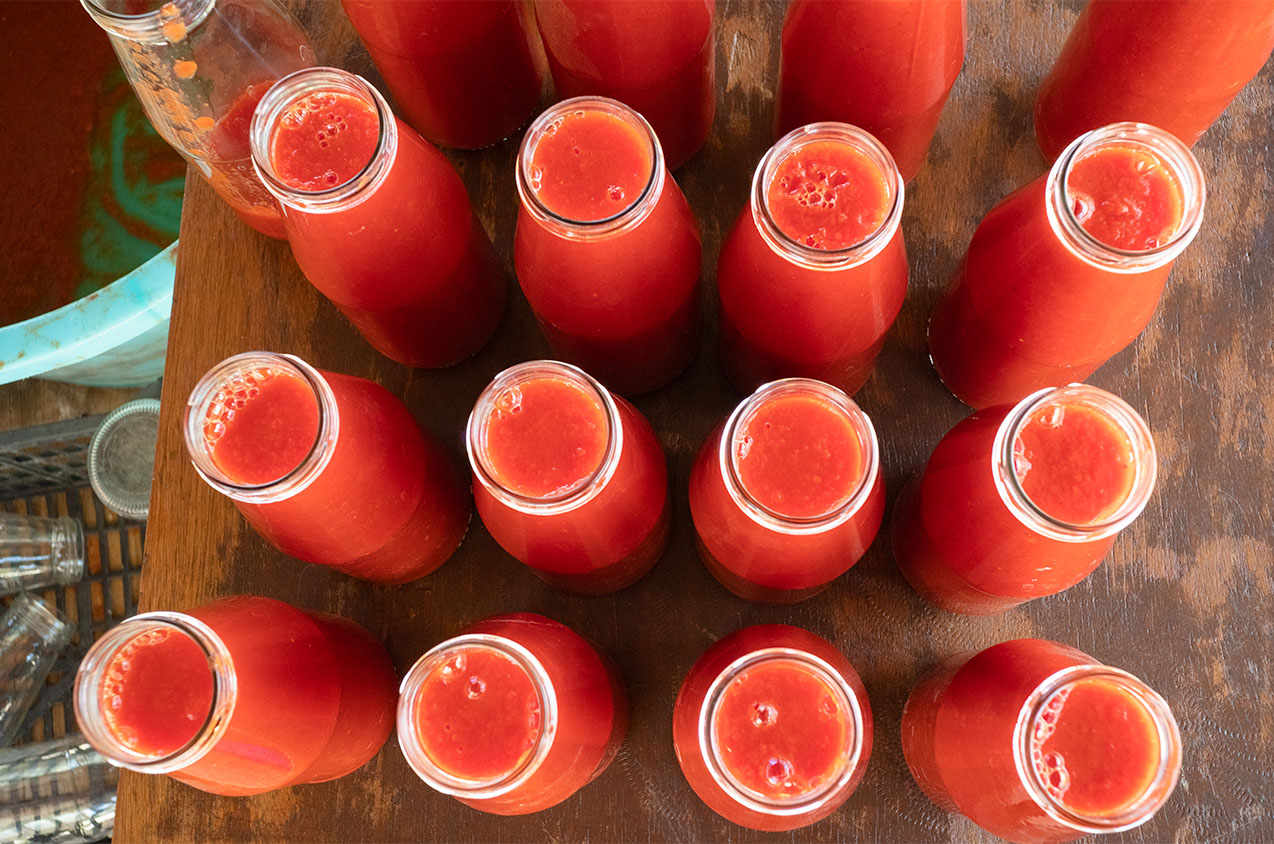
In this article, we’ll take you step by step through the simple process of preparing and storing cherry tomato pieces in glass bottles. This method is ideal for capturing the sweetness of summer tomatoes and keeping them on hand for delicious meals throughout the year. Preparing a supply of preserved cherry tomatoes not only ensures you’ll have healthy, seasonal ingredients in the winter but also saves money and minimizes food waste.
Please note that as for all homemade foods, the process is designed to produce artisanal-quality results meant to be shared with family and friends—not for commercial sale or market distribution.
With just a few tools and six easy steps, you can create jars of vibrant, flavorful tomatoes to enjoy raw or cooked. Ready to begin? Let’s dive in!
Step 1: Harvesting the Perfect Cherry Tomatoes

The journey begins with selecting your cherry tomatoes. Summer is the perfect season to start, as tomatoes reach their peak of ripeness and sweetness under the sun.
You can grow your own tomatoes in a garden, on a balcony, or source them from a local market or organic farmer. Look for middle to small-sized varieties like Sicilian or black cherry tomatoes, which are sweet and flavorful. In this recipe, we’ll use 10 kg of cherry tomatoes to make about 5 bottles of preserved slices.
Tools you’ll need for this project:
- A container to wash the tomatoes
- A large ladle for draining and transferring
- A fruit box to hold the cleaned tomatoes
- Glass bottles with tight-sealing tops
- A big pot for boiling the bottles
- A cutting surface and a sharp knife
Gather your materials and tomatoes, and you’re ready to begin the magic!
Step 2: Preparing the Tomatoes


Begin by removing the stems from each tomato. This helps keep your final product free of any impurities. Once destemmed, place the tomatoes into a container of clean water to wash off any dirt or debris.
Use the ladle to transfer the washed tomatoes into a fresh fruit box, ensuring they’re clean and ready for the next step. Taking the time to prepare your tomatoes ensures the best flavor and quality in the final product.
Step 3: Slicing and Bottling the Tomatoes


Next, slice each tomato in half. Hold the tomato steady with one hand and carefully cut through the middle with a sharp knife. The goal is to create neat halves that will fit easily into your glass bottles.
As you slice, place the halved tomatoes directly into the bottles. Gently press them down to fill the space, but avoid crushing them completely. Continue until each bottle is about halfway full.
Step 4: Seasoning the Tomatoes

Now comes the fun part—adding flavor! Layer fresh basil leaves between the tomato slices for a classic taste. For those who enjoy a little heat, you can also add pieces of chili pepper.
Seasoning is entirely up to your preference, so feel free to get creative while keeping it simple. The layering ensures the seasoning infuses beautifully with the tomatoes over time.
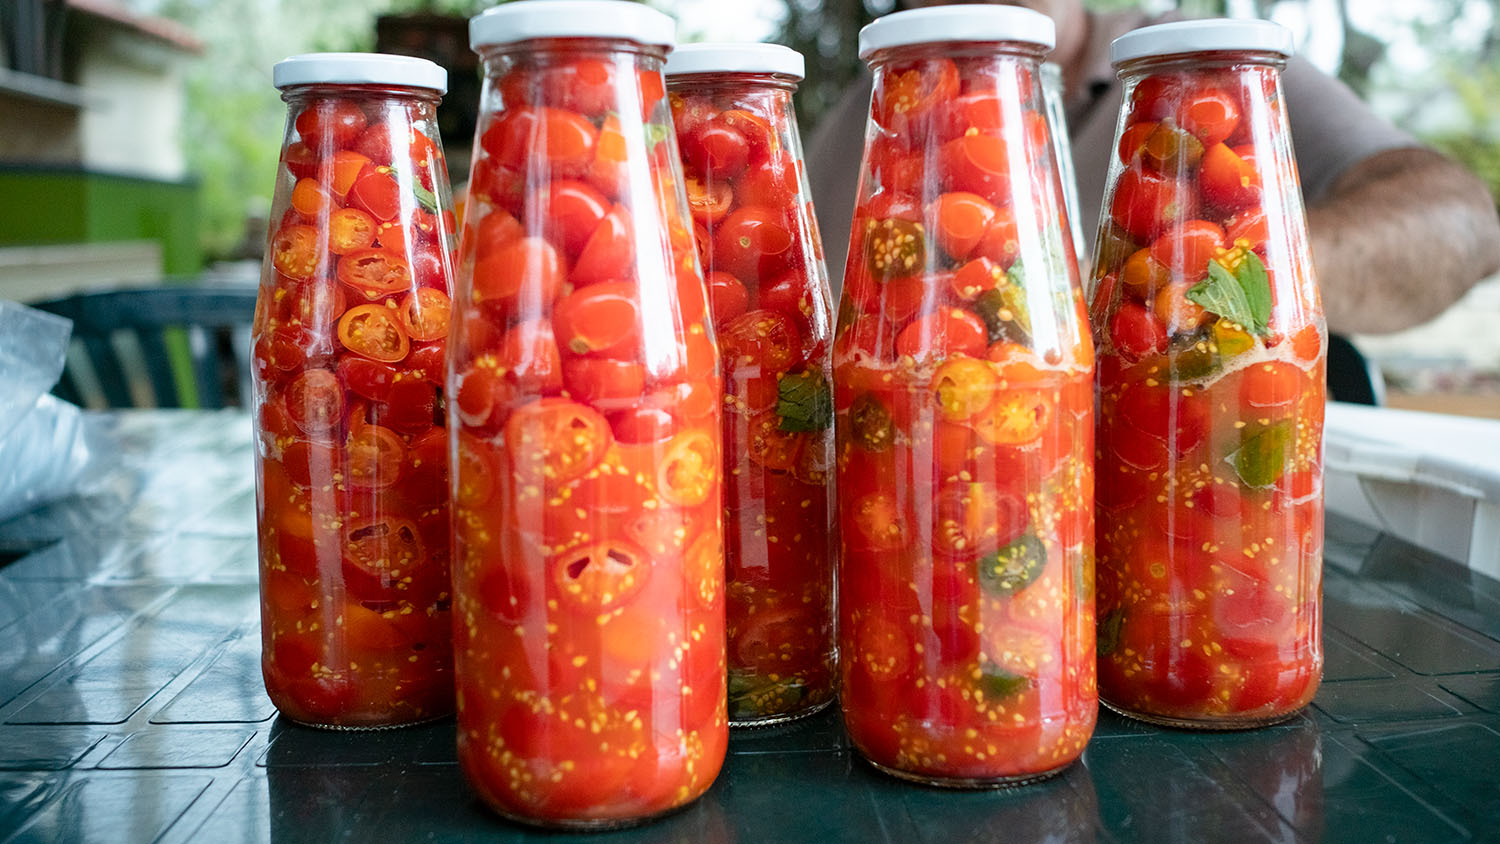
Step 5: Sealing the Bottles

Once your bottles are filled with seasoned tomato halves, it’s time to seal them. Use airtight stoppers or caps to close the bottles securely. A clean, new cap is recommended to prevent contamination and ensure a long shelf life.
For extra grip, you can use a cloth to hold the bottle while tightening the lid. This step is crucial for preserving the tomatoes and keeping them fresh and safe.
Step 6: Boiling the Bottles for Preservation


To complete the preservation process, place the sealed bottles into a large pot filled with water. Make sure the water level fully covers the bottles.
Bring the pot to a boil and allow the bottles to simmer for a sufficient time, ensuring the tomatoes are slightly cooked and fully sealed under pressure. This process removes any remaining air inside the bottles and guarantees a longer shelf life.
Conclusion: A Treasure for Your Pantry

Congratulations! Your preserved cherry tomato pieces are now ready to be stored. Keep them in a cool, dark place, and they’ll last for months, ready to be used in countless dishes. Enjoy them raw with a drizzle of olive oil and a pinch of salt or incorporate them into recipes like pizza, pasta, or roasted meats.
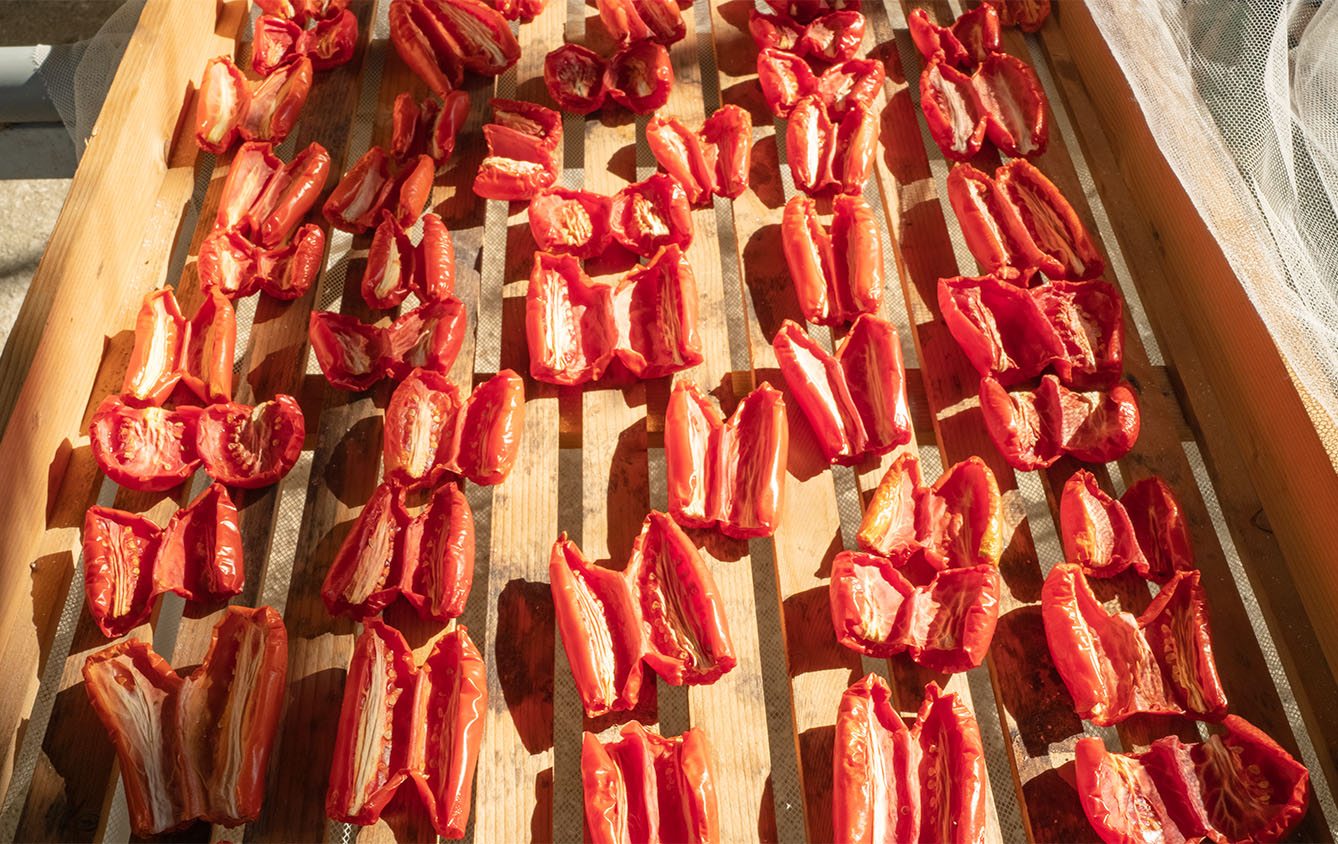
If you’ve enjoyed this guide, explore our blog for more traditional Italian food preservation techniques, like our article on making sun-dried tomatoes. Tomato Fable is here to help you celebrate the beauty of fresh food and time-honored traditions—one delicious step at a time.